Cargohold
Roles
Brief Summary
Cargohold is a multiplayer level in Halo 5 Forge that I designed. The aim was to design a level in Halo 5 Forge for a 4-player free for all deathmatch. I worked on this level solo for a month, doing testing and iterations.

Overview
The map needed to be suited for 4 players. As a basis I took the map Lockout from Halo 2 as inspiration and decided the average range of engagement was to be short to medium range. This gave me direction for how to structure the level and what kind of engagements I’d be aiming to create with my design. My goal for this level was to be for an audience in both casual and competitive play. To accomplish this, I designed the level to have multiple strategic options for gaining control and counter play while also keeping the overall design simple, with some interesting inclusions to shake up the gameplay.
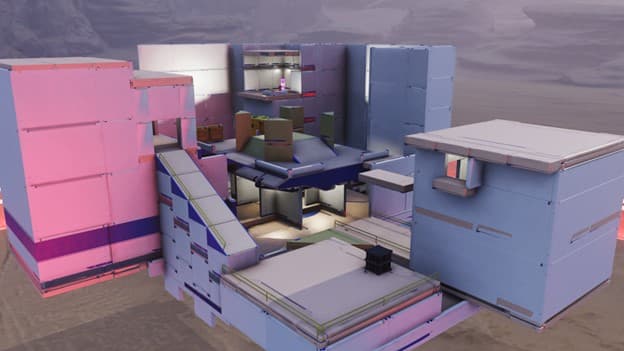
The Center

The Center
The center is simply the middle of the map. The center’s main purpose is connecting the other major parts of the map. Without the center, the map would act as one large circle without any variations in paths players could take. The center interconnects most sections of the map, providing multiple paths that players can take and engagement points where players can fight from. By its inclusion, the center prevents gameplay from becoming overly repetitive by allowing varying traversal routes.
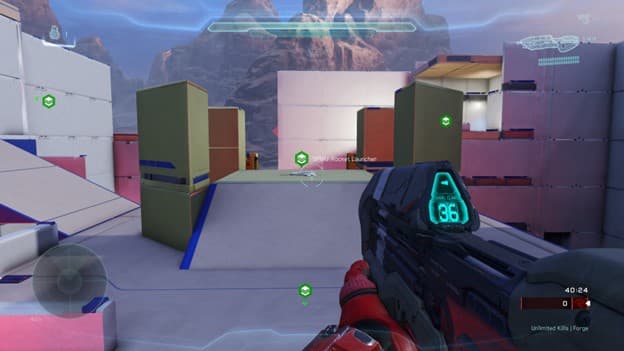
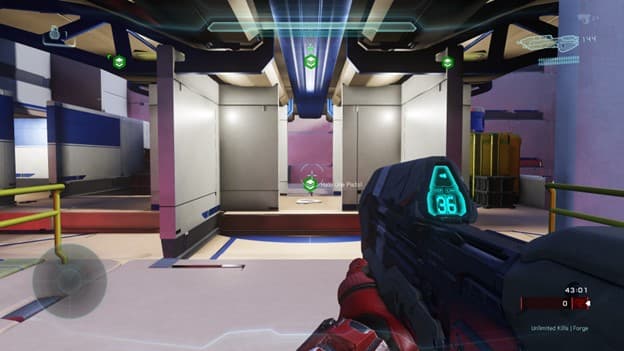
The Upper Level
The center is divided into two sections, the upper level and lower level. The upper level has less cover and hosts the only rocket launcher on the map. I made the rocket launcher difficult to retrieve by requiring one to expose themself to at least one line of fire to attain it. This ensures that the rocket launcher is hotly contested and not easily taken by rushing into the center to grab it. For the competitive players, this weapon is not as worthwhile due to its high risk. To the casual players, the fun is found in fighting over the rocket launcher with the reward of attaining the power weapon.
The Lower Level
Where the upper level has little cover, the lower level has very dense cover. The upper level is designed as a high risk, high reward area and the lower level is designed to be low profile. In the middle of the floor is a Halo CE pistol which is placed there as a kind of power weapon in the level. Unlike the rocket launcher it is relatively easy to grab but doesn’t one shot kill. In both casual and competitive play, this weapon gives one player a damage output advantage while the player has ammo.
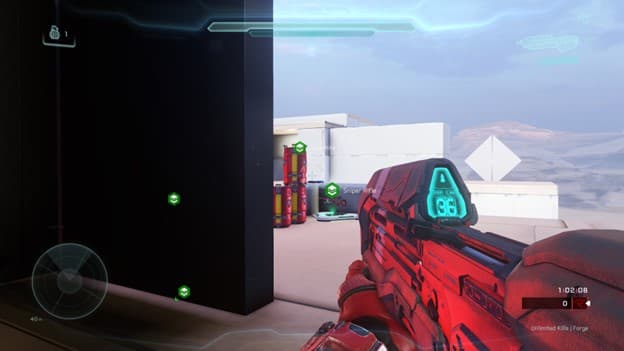
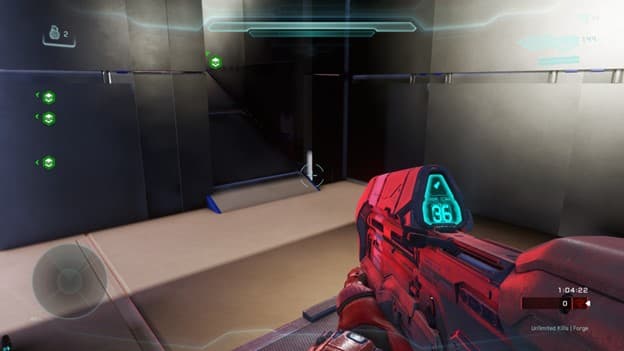
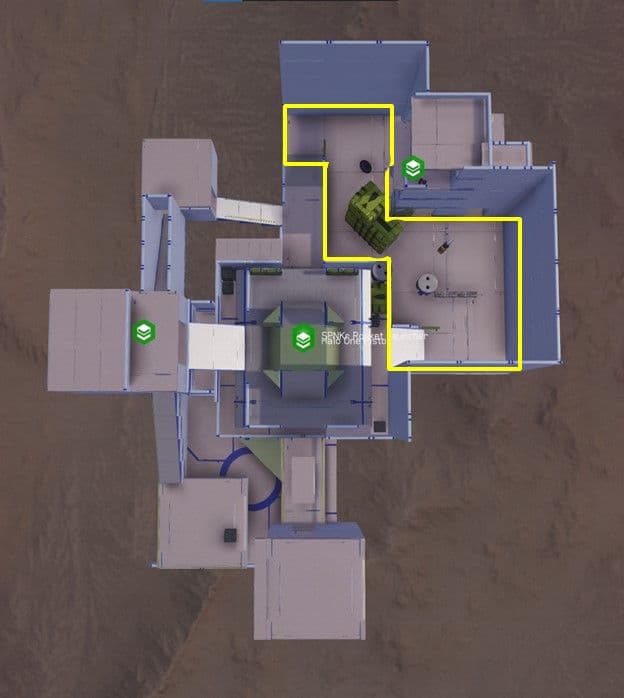
The Sniper Tower
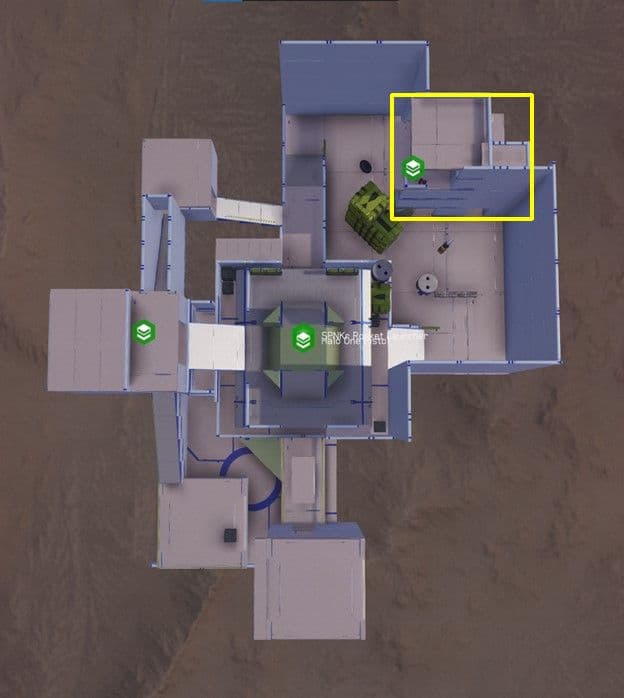
The sniper tower is one of the most important power positions in the map. It hosts one of the map’s two snipers and has a height/line of sight advantage over most of the map and moderate cover. Players can access the sniper tower from below through the “Storage” area (I’ll explain this area later) or by making some tricky jumps from the center to some large cargo boxes and to the top level of the tower.
Upper Sniper Tower
Lower Level Sniper Tower 1st Entrance
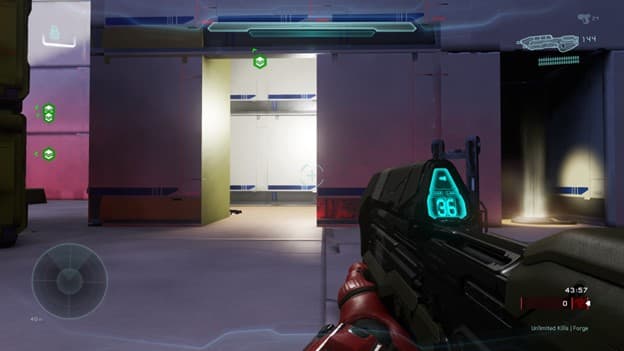
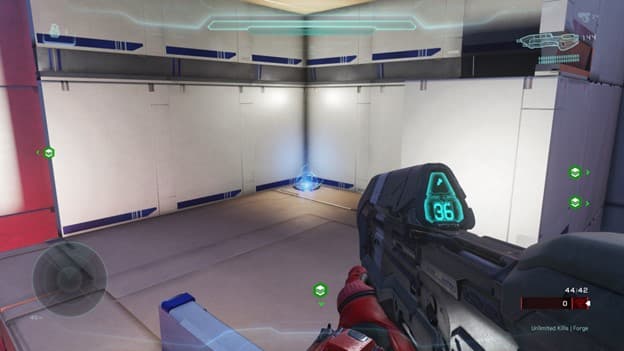
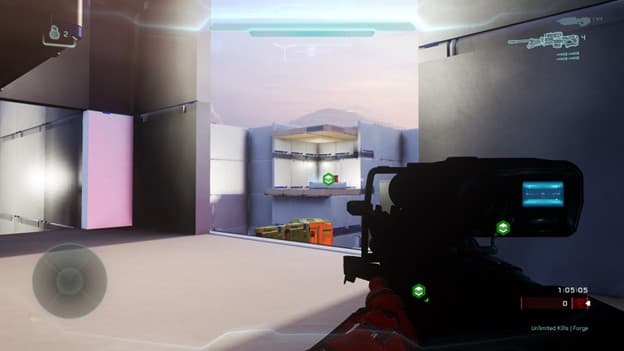
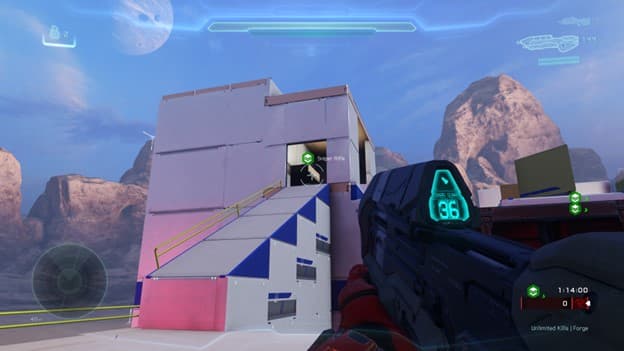
The lower level’s purpose is to be a way of getting to the upper floor for those who cannot jump on the boxes in the storage area. At this level there are three openings to enter inside the tower. The first two, go to a room with a shotgun and a teleporter that leads to the upper level. The third opening has a gravity lift in it that launches the player straight to the upper level.
Lower Level Sniper Tower 2nd Entrance
Upper Level of the Tower
The upper level is a major power position within the map. Its height advantage, moderate cover, and sniper rifle spawn makes the tower a heavily contested area on the map throughout most games. Due to its advantages, I needed to add several measures to allow for counter play against a player using this position to dominate a game. First, I added explosive barrels near the sniper tower’s cover and sniper spawn. This discourages players from camping behind cover and near the sniper rifle. By backing away from the barrel to make it harder for opponents to kill them, the player is also sacrificing access to the sniper rifle, the ability to see the map as clearly, and some cover. As a result, maintaining control of this powerful position becomes a balancing act of trading off offense and defense.
View of Map from atop the Tower
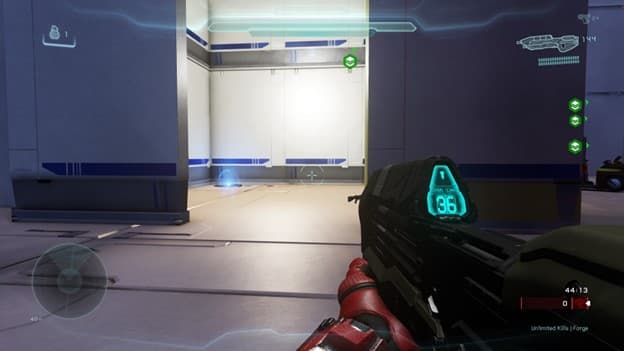
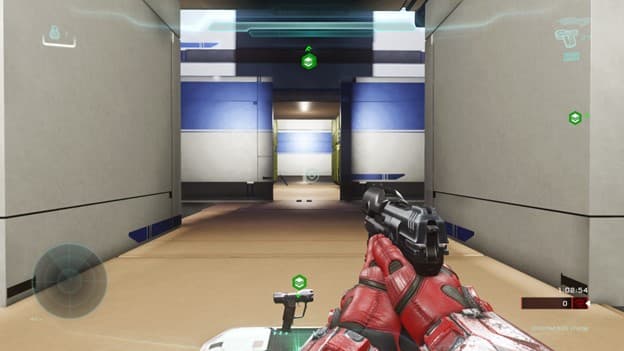
The Teleporter
The Teleporter on the Bottom Level
The multiple entries to the upper floor also create methods of counter play. Both the teleporter and the gravity lift both have a different purpose in how they interact with the upper level. The teleporter is quick and close to a shotgun that can be used to take out a player using the sniper tower. Its disadvantage is that the player is immediately outside cover when they use the teleporter so they must get to cover quickly or defeat their opponent in the tower immediately. This makes the teleporter more advantageous when the player has the element of surprise on their side. The gravity lift is slower, further from the shotgun spawn, and makes more noise when used but immediately puts the player in cover when they use it. This makes the gravity lift less useful as a stealth option but more useful as a confrontational option.
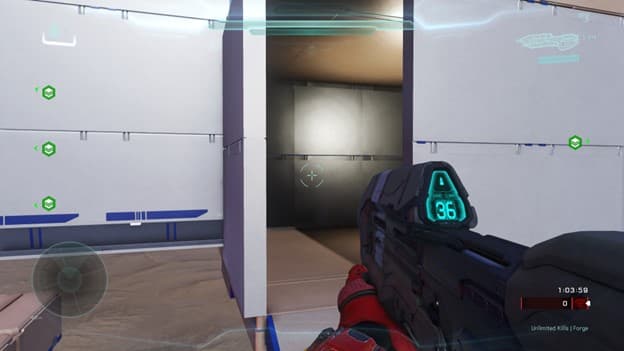
Gravity Lift beside Tower Entrances
Upper Level where Gravity Lift Leads Player
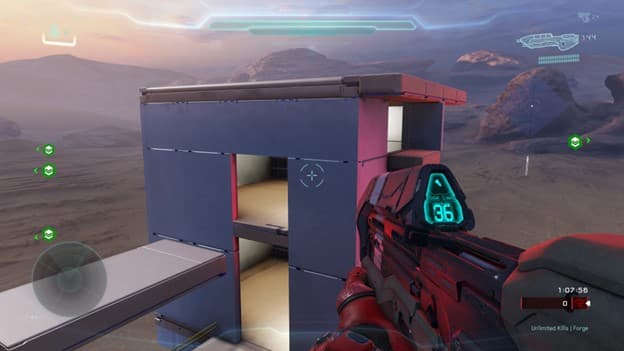
The Counter Sniper House
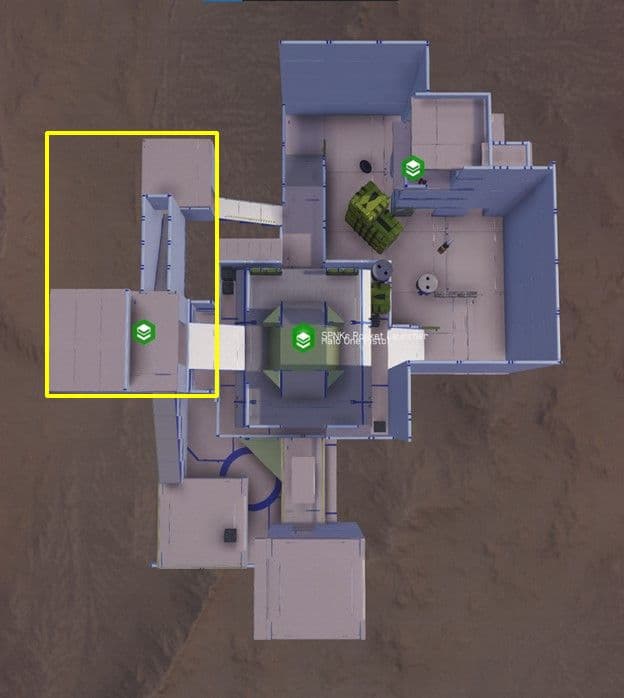
The counter sniper house hosts the map’s second sniper spawn and provides one of the best positions for counterattacking the sniper tower in the level. The structure consists of three rooms, the sniper room, the bottom floor, and the side room. The sniper room is small and has 4 entrances, one on each of its four sides. The sniper rifle is placed on top of a small platform above the ground that players need to climb onto to reach. Due to this room containing another sniper, it is another heavily contested area on the map. From this room, a player can attack notable portions of the map, including the upper level of the center and the top of the sniper tower. While it provides more cover from ranged fire compared to the sniper tower, it has more entrances that allow for players to counter play a sniper in this position.
The Sniper Room

Looking towards the Tower
The bottom floor is a path for getting from the lower level of the center to the sniper spawn and a counter play to any player using the sniper spawn. It is much larger than the sniper spawn and there is a shotgun spawn and a gravity lift. The gravity lift sends the player directly to the sniper spawn level so that they can surprise another player in the sniper spawn room. A player using the sniper room therefore needs to be concerned with the threat of a player ambushing them with a shotgun as well as players shooting them from other portions of the map. This creates the desired balance between the position being powerful while retaining opportunity for counterplay.
Looking from Middle of the Map towards Counter Sniper House’s Lower Level
Bottom Floor of the
Counter Sniper House

The Side Room
The Side Room from the Outside
The side room is a route that connects the Storage area of the map to the counter sniper tower. This room provides good cover and another way to ambush a player utilizing the sniper spawn. It helps achieve my intent to allow for players to move about multiple different paths with different purposes rather than being limited to one or two routes with the same or similar purpose. This room’s connection to the sniper room and the center of the map fulfill this intent and create one of the level’s many “circular” paths. There is a sole plasma pistol in this room if the player decides to use it, particularly for counter play against a player in the sniper spawn.
Side Room on the Inside
Looking towards the Sniper Room
The Safehouse

The safehouse is a structure that exists to balance the level design. Players spawning here will immediately give players a slight advantage since they will be able to attain a battle rifle on either floor of the structure. It also connects the center of the map to the “low ground” which I’ll discuss in the next section. On the top floor the player has openings that provide access to the center and to a path towards the counter sniper house. On the bottom floor, the player has a gravity lift to the top floor and an opening that leads to the bottom level of the center. Players here have strong cover and good line of sight on the sniper spawn in the counter sniper house but does not have strong line of sight with the sniper tower.
The Safehouse from the Outside
Inside the Safehouse Top Floor

Inside the Safehouse Bottom Floor
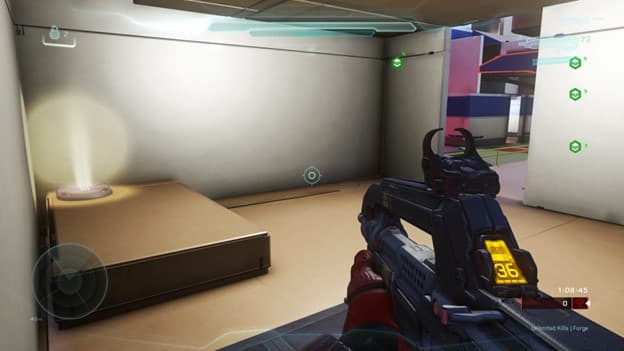
The Low Ground
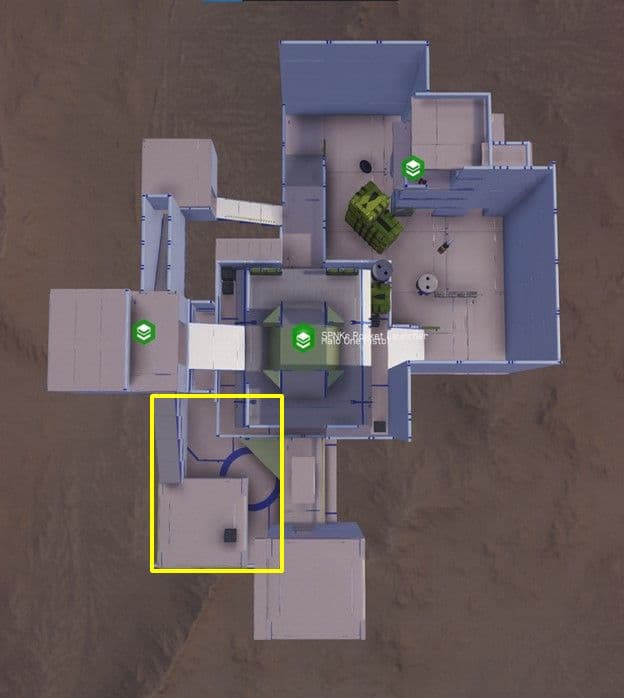
The low ground is a small area between the safehouse and the counter sniper house. It serves to connect the two areas, thus helping completing one of the many circular paths a player can take in the level. It has little cover but is kept low to the ground and general out of sight of most advantageous positions. Players can access it from the center as well as the safehouse and counter sniper house. The only weapon here is a plasma pistol in case a player decides to use it.
The Low Ground
Looking towards the Counter Sniper House
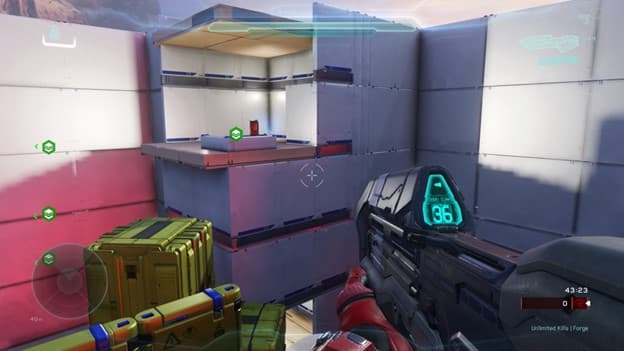
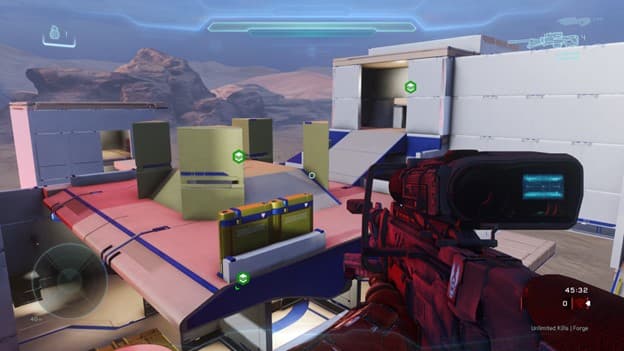
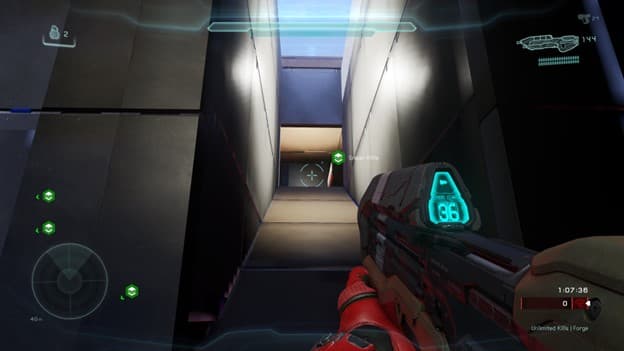
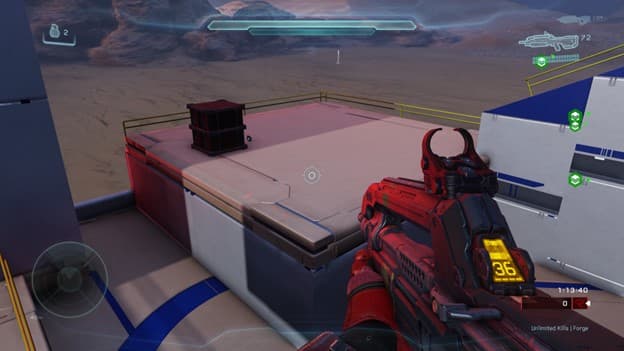
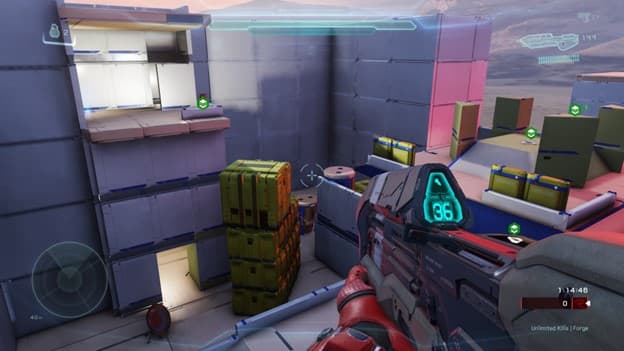
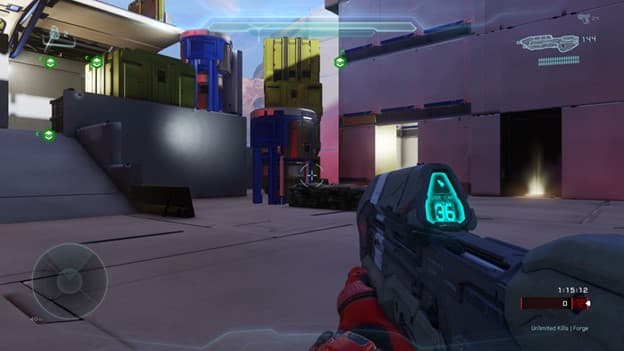
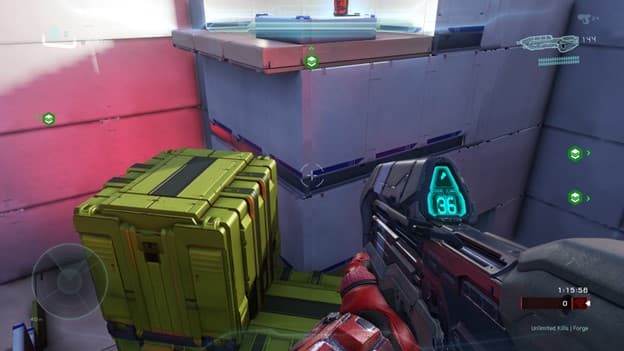
Storage
The storage area is an area around the sniper tower which connects the sniper tower to the center. The player can use this area in two ways, the player can traverse the ground of the storage area or hop across the storage containers. The former method is safer and leads to the lower floor of the sniper tower. The latter method is much riskier due to a lack of cover but is much faster, allowing a player to run from the center to the top of the tower quicker than if they used the lower route. A skilled player can use this route for an advantage if they can manage to make it across. Like the low ground area, the storage also helps complete a circular path that players can take during gameplay.
Storage Area Overview
Ground Level View of Storage
Storage Containers leading to Sniper Tower
Contact Me
If you’re interested in working with me, contact me via email at [email protected].
You can also download my resume here.